Table of Contents
ToggleTermites cause billions in structural damage annually, and most homeowners don’t realize they have a problem until the damage is already done. Liquid termite treatment remains one of the most effective barriers against these destructive pests, creating a chemical zone around your foundation that kills termites on contact or as they attempt to enter your home. Unlike baiting systems that rely on termites finding stations, liquid treatments establish immediate protection. This guide walks through everything homeowners need to know about liquid termiticides, from how they work and what types are available, to application methods, costs, and longevity. Whether you’re dealing with an active infestation or want preventive protection, understanding liquid treatment helps you make informed decisions about protecting your biggest investment.
Key Takeaways
- Liquid termite treatment creates a protective chemical barrier around your foundation that kills termites on contact or when they unknowingly carry the poison back to their colony, providing immediate protection that baiting systems can’t match.
- Non-repellent liquid termiticides like fipronil have become the industry standard because termites can’t detect them, allowing the chemical to spread through the colony via a domino effect that can eliminate entire termite populations within weeks.
- Professional liquid termite treatment costs between $1,200 to $2,500 for most homes, with pricing dependent on foundation type, home size, and soil conditions—a worthwhile investment considering termites can cause $3,000 to $8,000 in structural damage.
- Proper application requires drilling through concrete, trenching around foundations, and saturating soil to precise depths; any gaps in the barrier create untreated pathways that termites will exploit, which is why professional licensing is required in most states.
- Modern liquid termite treatment lasts 5 to 10 years depending on the active ingredient and soil conditions, with homeowners maximizing durability by avoiding landscape disturbance and monitoring effectiveness through annual professional inspections.
What Is Liquid Termite Treatment and How Does It Work?
Liquid termite treatment involves applying a termiticide solution to the soil around and beneath a structure’s foundation. The chemical creates a continuous barrier that termites can’t cross without exposure. When termites tunnel through treated soil, they either die from contact or carry the termiticide back to their colony, spreading it to other members.
The application saturates the soil at a specific concentration, typically 0.06% to 0.125% active ingredient, depending on the product. Professionals use specialized equipment to inject the solution deep into the ground, ensuring complete coverage around foundation walls, beneath concrete slabs, and along expansion joints where termites commonly enter.
Modern liquid termiticides fall into two behavioral categories: repellent formulas that termites avoid, and non-repellent chemicals that termites can’t detect. Non-repellent treatments have become the industry standard because they allow termites to pass through treated areas, picking up lethal doses without triggering avoidance behavior. This increases the likelihood of colony elimination rather than just creating a barrier.
The treatment must reach 100% coverage around the structure’s perimeter. Gaps in the barrier let termites find untreated pathways into your home. That’s why professionals drill through concrete, remove soil from crawl spaces, and sometimes trench around exterior foundations, the thoroughness of application directly determines effectiveness.
Types of Liquid Termite Treatments Available
The termiticide market has evolved significantly, with different active ingredients offering varying modes of action and treatment durations. The most common liquid treatments homeowners encounter include fipronil (found in products like Termidor), imidacloprid (found in Premise and Dominion), chlorantraniliprole (Altriset), and bifenthrin (Bifen).
Fipronil-based products dominate professional applications due to their non-repellent nature and transfer effect. Termites exposed to fipronil don’t die immediately, they carry the chemical back to the colony, spreading it through grooming and feeding behaviors. This “Domino Effect” can eliminate entire colonies within weeks to months.
Imidacloprid works similarly as a non-repellent but focuses more on creating a lethal barrier. It disrupts the termite’s nervous system, causing paralysis and death. Many pest control professionals prefer it for pre-construction treatments where soil conditions allow deep penetration.
For homeowners concerned about environmental impact, chlorantraniliprole offers reduced toxicity to mammals and beneficial insects while remaining highly effective against termites. It’s slower-acting but provides excellent colony control with a favorable safety profile.
Non-Repellent vs. Repellent Termiticides
Understanding the difference between these two categories affects treatment strategy and long-term effectiveness.
Non-repellent termiticides (fipronil, imidacloprid, chlorantraniliprole) allow termites to move freely through treated zones without detecting danger. This behavior increases the transfer effect, more termites get exposed, and they unknowingly carry the chemical to nest mates. The best liquid termite killers leverage this non-detection principle for maximum colony impact.
Repellent termiticides (bifenthrin, permethrin, cypermethrin) create a chemical barrier that termites actively avoid. While this sounds effective, termites are excellent at finding gaps in treatment. If they detect the repellent in one area, they’ll probe for untreated soil elsewhere. Repellent treatments work best when application is flawless and complete, which is difficult to achieve around complex foundations.
Most professionals have shifted to non-repellent formulas because they’re more forgiving of minor application gaps and provide better colony elimination. Repellent products still have their place in specific situations, like creating a quick barrier during construction, but they’re less common for whole-home treatments.
When to Choose Liquid Termite Treatment Over Baiting Systems
Liquid treatments and baiting systems represent two fundamentally different approaches to termite control. Neither is universally superior, the right choice depends on your specific situation.
Choose liquid treatment when you have an active infestation requiring immediate elimination. Liquid barriers work within hours to days, creating instant protection. They’re ideal for homes with accessible soil around the foundation, new construction (where trenching is easier), and properties where you want a “set it and forget it” solution that lasts years without monitoring.
Liquid treatments excel in several scenarios: homes on concrete slabs (where drilling and injection reach beneath the foundation), properties with extensive landscaping near the foundation (where baiting stations might get overlooked), and situations where the homeowner wants minimal ongoing maintenance. If you’re preparing to sell your home, liquid treatment provides documentation of complete protection that buyers and inspectors recognize.
Baiting systems make more sense for homes with limited soil access, properties near wells or water sources where chemical injection raises concerns, or situations where monitoring termite activity over time provides useful data. Baits also work well for homeowners who prefer minimal chemical use or have pets that frequently dig in yard areas where liquid treatments would be applied.
Some pest control companies recommend combining both approaches: liquid treatment around the foundation for immediate protection, with monitoring stations placed at property perimeters to detect new colonies before they reach your home. This integrated approach costs more upfront but provides layered defense.
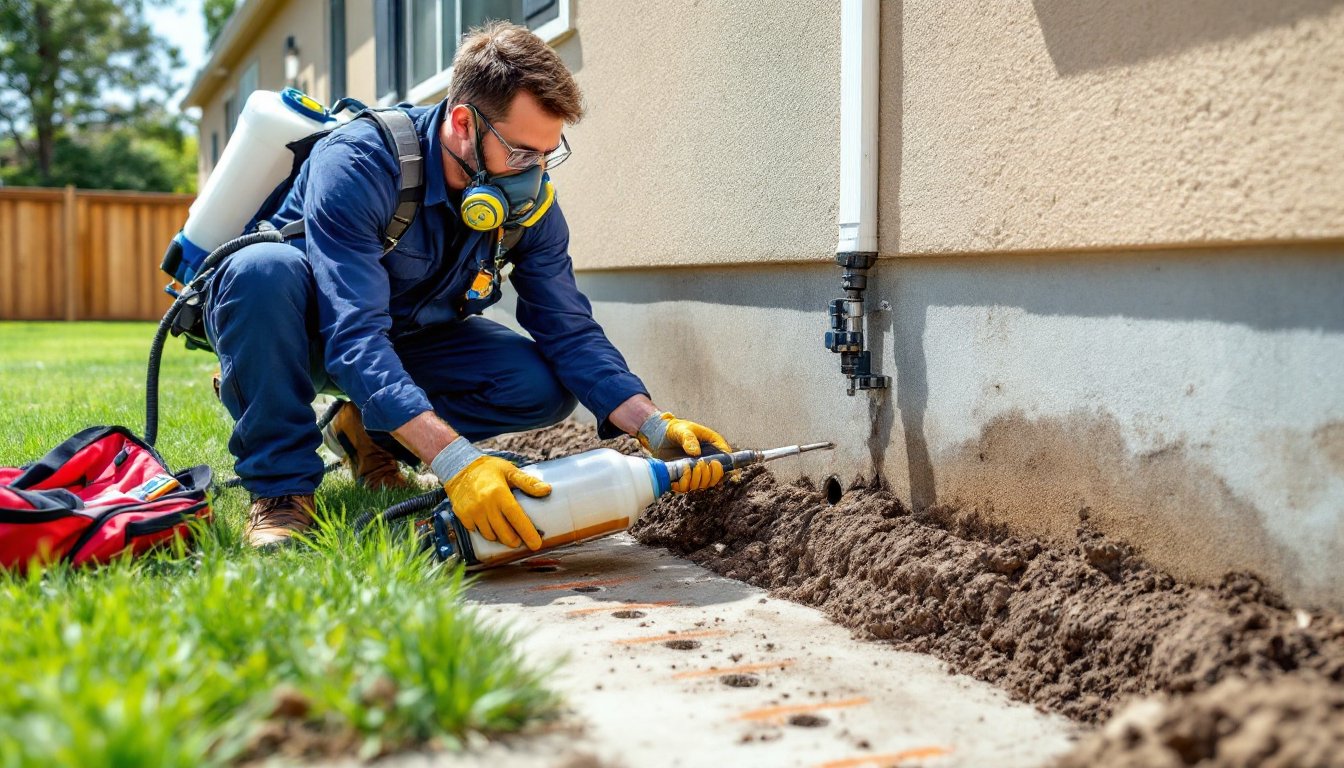
Step-by-Step: How Liquid Termite Treatment Is Applied
Professional liquid termite treatment follows a methodical process that ensures complete soil saturation and barrier continuity. This isn’t a DIY-friendly project, most states require licensing to purchase and apply professional-grade termiticides, and application mistakes create gaps that termites exploit.
Step 1: Inspection and Preparation
The technician inspects the entire foundation, identifying potential termite entry points, existing damage, and structural features that affect treatment (porches, HVAC slabs, plumbing penetrations). They mark drill locations and explain the process to homeowners.
Step 2: Trenching Around Exterior Foundation
For homes with crawl spaces or accessible perimeter soil, workers dig a trench 6 inches wide and 6 inches deep along the foundation wall. This exposes the footing area where termites commonly enter.
Step 3: Drilling Through Concrete
Slab foundations and attached garages require drilling holes through the concrete to inject termiticide beneath. Holes are typically ½ inch diameter, spaced 12 to 16 inches apart along all foundation edges, expansion joints, and around plumbing penetrations. This is loud, dusty work that takes several hours for an average home.
Step 4: Soil Treatment Application
Using a low-pressure sprayer or injection rod, technicians apply the termiticide solution at the manufacturer’s specified rate, usually 4 gallons of diluted solution per 10 linear feet for standard treatments. The goal is to saturate the soil to the bottom of the footing, creating a continuous vertical and horizontal barrier.
Step 5: Crawl Space and Interior Treatment
If your home has a crawl space, technicians treat the soil inside as well, focusing on areas near foundation walls and support piers. Interior treatments around bath traps and utility penetrations might be necessary if termites have accessed those areas.
Step 6: Backfilling and Cleanup
Trenches are backfilled with treated soil, drill holes are patched with concrete, and the work area is cleaned. Professional companies provide a treatment diagram showing exactly where chemical was applied, keep this document for future reference and home sale disclosures.
Safety note: Stay out of treated areas until the solution has absorbed into the soil, typically 30 minutes to 2 hours depending on soil type and weather. Keep children and pets away during application and drying time. Applicators should wear chemical-resistant gloves, safety glasses, and respirators when handling concentrated termiticides.
Cost Breakdown: What to Expect When Investing in Liquid Treatment
Liquid termite treatment represents a significant investment, but understanding the cost structure helps homeowners budget appropriately and evaluate quotes.
National averages for whole-home liquid treatment range from $1,200 to $2,500 for initial application, with most homes falling around $1,500 to $1,800. Several factors affect pricing: home size (linear footage of foundation matters more than square footage), foundation type (slab homes require more drilling, crawl spaces need interior treatment), soil conditions (rocky or clay soils increase labor), and regional labor rates.
Larger homes with complex foundations, multiple additions, attached garages, L-shaped layouts, can push costs toward $3,000 to $4,000 because of the additional drilling and chemical volume required. A standard treatment uses 100 to 200 gallons of diluted termiticide for an average 2,000 sq ft home, and professional-grade products cost $50 to $100 per gallon of concentrate before dilution.
Most reputable companies include a annual inspection and warranty with initial treatment, renewable for $75 to $300 per year depending on coverage terms. These warranties typically cover retreatment if termites return and repair of new damage discovered during annual inspections, read the fine print carefully, as coverage limits and exclusions vary significantly.
Compare quotes from multiple licensed pest control operators, but don’t choose based solely on price. The average termite treatment cost varies by region and company, but extremely low bids often indicate diluted chemicals, incomplete application, or inexperienced technicians. Ask about the specific termiticide brand, application rate, warranty terms, and whether the company carries proper insurance.
Some pest control companies offer financing or payment plans for termite work, which can make the investment more manageable. Factor in the potential cost of structural damage, termites can cause $3,000 to $8,000 in repair expenses in just a few years, making treatment a sound financial decision for at-risk properties.
How Long Does Liquid Termite Treatment Last?
Treatment longevity depends on the active ingredient, soil conditions, and environmental factors that break down the chemical barrier over time.
Modern non-repellent termiticides typically provide protection for 5 to 10 years when properly applied. Fipronil-based products (Termidor) are labeled for up to 10 years in many conditions, while imidacloprid and chlorantraniliprole treatments generally last 5 to 8 years. These timeframes assume normal soil conditions, consistent moisture, moderate pH, and minimal disturbance.
Several factors accelerate breakdown: soil with high organic content (lots of microbes that degrade chemicals), heavy rainfall or irrigation that washes termiticide deeper than effective depth, alkaline soil (pH above 8), and soil disturbance from landscaping, utility work, or foundation repairs that create gaps in the barrier.
Homeowners can maximize treatment duration by avoiding these common mistakes: don’t install new landscaping that requires digging within 12 inches of the foundation for at least a year after treatment, redirect downspouts and irrigation away from foundation walls (excessive moisture dilutes the barrier), and inform any contractors doing foundation work that termite treatment is in place, they’ll need to notify your pest control company for spot retreatment if they disturb treated soil.
Annual professional inspections monitor treatment effectiveness and catch any new termite activity before significant damage occurs. During these visits, technicians look for termite mud tubes, damaged wood, and conditions conducive to infestation. If treatment has degraded prematurely, unusual but possible in challenging conditions, they can apply targeted retreatment to specific areas rather than starting over with a full perimeter application.
Most pest control companies recommend full retreatment every 7 to 10 years as a preventive measure, even if no termites are detected. This proactive approach prevents infestations during the window when chemical concentration drops below effective levels.