Table of Contents
ToggleA counter height kitchen island can transform your kitchen from cramped and inefficient into a functional command center. Whether you’re planning a full remodel or adding a standalone piece, getting the height right matters more than most homeowners realize. Too high, and you’ll strain your back during meal prep. Too low, and your stools won’t fit. This guide walks you through everything you need to know, from standard dimensions and seating options to material choices and installation considerations, so you can build or buy an island that actually works for your space and lifestyle.
Key Takeaways
- A counter height kitchen island sits at 36 inches, matching standard countertops and base cabinets, making it the ideal choice for both meal prep and casual dining.
- Plan 42 to 48 inches of clearance on all sides of your counter height kitchen island—minimum 42 inches for single cooks and 48 inches for dual-cook kitchens with appliances.
- Counter-height stools have a 24-inch seat height and require at least 12 to 15 inches of overhang from the cabinet face to ensure comfortable seating without knee contact.
- Choose countertop materials based on durability and maintenance: butcher block ($40–$100/sq ft) is affordable but needs regular oiling, while quartz ($60–$150/sq ft) offers low-maintenance durability.
- Anchor islands to the floor with L-brackets or cabinet screws into floor joists to prevent tipping, and ensure electrical outlets are positioned within 24 inches of the countertop edge if the island exceeds 24 inches in length.
- Island footprint should not exceed 10% of your total kitchen square footage—in a 150-sq-ft kitchen, aim for a 15-sq-ft island (5 feet by 3 feet) to maintain proper proportion and scale.
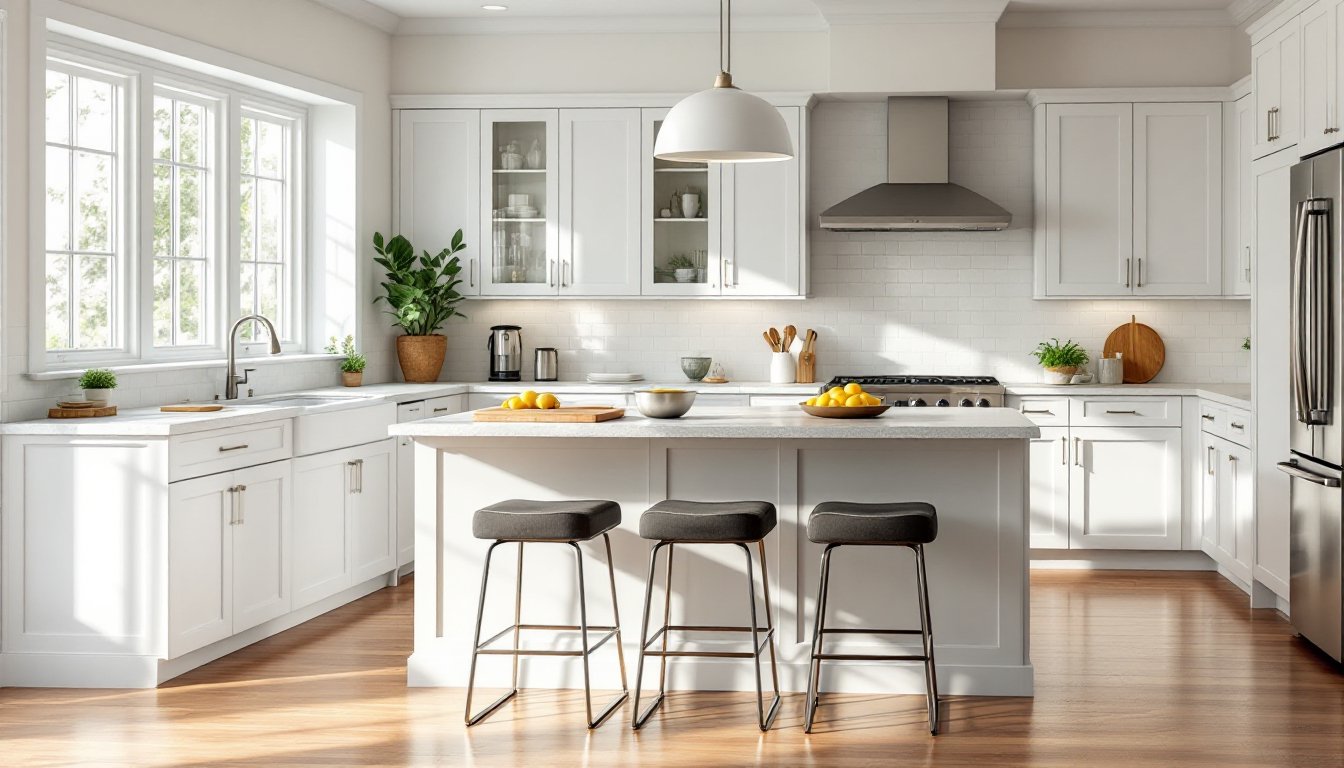
What Is a Counter Height Kitchen Island?
A counter height kitchen island sits at the same height as your standard base cabinets and countertops: 36 inches from floor to counter surface. This is the most common island configuration in residential kitchens and matches the height of your perimeter counters.
Some homeowners confuse counter height with bar height (also called pub height), which sits at 42 inches. Bar height islands create a visual separation between cooking and dining zones but aren’t ideal for meal prep since they’re taller than standard work surfaces. Counter height keeps everything uniform, which is why it’s the go-to choice for islands that serve double duty as prep space and casual dining.
The kitchen island counter height you choose affects everything downstream, stool selection, cabinet specs, and even how comfortably you can roll out pie dough. Stick with 36 inches unless you have a specific reason to deviate, like an unusually tall household or a need for visual separation in an open-concept layout.
Benefits of Counter Height Kitchen Islands
Counter height islands offer several practical advantages that make them the default choice for most kitchens:
Unified work surface. When your island matches your perimeter counters, you can prep, roll, and plate food at a consistent height. No need to adjust your stance or posture as you move around the kitchen. This is especially important if you bake or work with dough, where a consistent surface height makes a noticeable difference.
Easier seating integration. Standard counter-height stools (24-inch seat height) are widely available, affordable, and comfortable for most adults and kids. You’ll find more style and material options at this height than you will for bar-height seating.
Better sightlines. A 36-inch island doesn’t create a visual wall between the kitchen and adjacent living spaces. This keeps open-concept layouts feeling open while still defining the kitchen zone. Homeowners with kitchen design priorities often favor counter height for this reason.
Code-friendly clearances. Most building codes and design guidelines assume 36-inch counter heights when specifying aisle widths and clearances. You’re less likely to run into spacing issues or accessibility concerns with a standard-height island.
Resale appeal. Counter height is the expected norm. Buyers won’t question it, and appraisers won’t ding you for a non-standard configuration.
Choosing the Right Dimensions for Your Space
Getting the footprint right is just as important as nailing the height. A beautiful island that blocks traffic or forces you to shimmy past the dishwasher is a daily frustration.
Minimum Clearances
Plan for 42 to 48 inches of clearance on all sides where you’ll be walking or opening appliances. The National Kitchen and Bath Association (NKBA) recommends 42 inches as a minimum in single-cook kitchens and 48 inches if two people will be working simultaneously. If your island houses a dishwasher or oven, you’ll need the full 48 inches on that side so the door can open without blocking the aisle.
In tight kitchens, some homeowners shave clearance down to 36 inches, but this feels cramped once you add bar stools or have someone standing at the sink.
Island Size Guidelines
A functional island should be at least 4 feet long by 2 feet deep. Anything smaller is decorative, not practical. If you’re adding seating, budget 24 inches of counter width per person and make sure the overhang is at least 12 inches (15 inches is more comfortable) so knees don’t hit the cabinet face.
For larger kitchens, islands can stretch to 8 or 10 feet long, but consider adding a support post or corbels if your countertop material can’t span that distance without reinforcement. Granite and quartz can typically span 24 to 30 inches unsupported: anything beyond that needs structural support.
Proportion and Scale
Your island shouldn’t overwhelm the room or look like an afterthought. A good rule of thumb: the island footprint should be no more than 10% of your total kitchen square footage. In a 150-square-foot kitchen, that’s a 15-square-foot island (e.g., 5 feet by 3 feet).
Popular Counter Height Island Styles and Materials
Islands come in a wide range of styles, from built-in custom cabinetry to freestanding furniture pieces. Your choice depends on budget, skill level, and whether you’re working with a contractor or going DIY.
Built-In Islands
These are constructed from base cabinets (either stock, semi-custom, or custom) topped with a countertop material. Standard base cabinets are 34.5 inches tall: add a 1.5-inch countertop, and you hit the 36-inch target. Built-ins offer the most storage and customization but require plumbing and electrical rough-ins if you’re adding a sink or outlets. Expect to pull permits if you’re relocating water or gas lines.
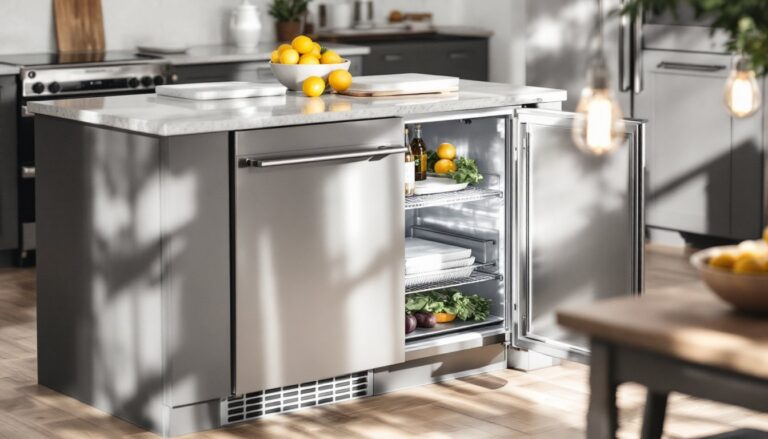
Freestanding Islands
Furniture-style islands (often called kitchen carts or butcher block islands) can be moved if needed and don’t require installation. They’re a solid choice for renters or homeowners who want flexibility. Just confirm the height before buying, some furniture pieces sit at table height (30 inches) rather than counter height.
Countertop Materials
Your countertop choice affects durability, maintenance, and cost:
- Butcher block: Warm, repairable, and affordable ($40–$100/sq ft installed), but requires regular oiling and isn’t heat-proof.
- Quartz: Engineered, non-porous, low-maintenance, and consistent in color ($60–$150/sq ft installed). Heavy, reinforce your base.
- Granite: Natural stone with unique patterns, heat-resistant, durable ($50–$200/sq ft installed). Needs periodic sealing.
- Laminate: Budget-friendly ($20–$50/sq ft installed), huge color range, but can chip and doesn’t handle heat well.
Designers often recommend using a contrasting material or color for the island to create visual interest. You’ll see inspiration for pairing materials in design sourcebooks if you need ideas.
Seating Options for Counter Height Islands
If you’re planning to add stools, you’ll need the right overhang and enough knee space to make seating comfortable, not a perch.
Stool Height and Overhang
For a 36-inch counter, use 24-inch seat height stools (measured from floor to seat). Leave at least a 12-inch overhang from the cabinet face to the counter edge: 15 inches is better if you have the room. This gives knees clearance and lets people tuck in without hitting cabinetry.
Support Considerations
Most countertop materials can’t cantilever more than 12 to 15 inches without support. If you want a deeper overhang for seating, you’ll need to add:
- Corbels or brackets: Visible supports mounted to the cabinet or island frame.
- Steel or wood supports: Hidden inside the cabinet structure.
- A raised bar section: Stepping part of the island up to 42 inches with a support panel.
Countertop fabricators will tell you the maximum unsupported span for your material. Don’t skip this conversation or you’ll end up with a cracked slab.
How Many Seats?
Budget 24 inches per person. A 6-foot island can comfortably seat three: an 8-footer can handle four. Don’t crowd it, cramped seating won’t get used.
Some homeowners debate counter height versus table height for seating, but counter height wins if the island doubles as a work surface. Table-height seating requires a step-down or separate tiered section.
Installation Tips and Considerations
Whether you’re building from scratch or installing a pre-made unit, a few details make the difference between a solid install and a wobbly headache.
Leveling and Anchoring
Start with a level floor. If yours isn’t (most aren’t), use shims under the base cabinets to level the island before you secure it. Once level, anchor the island to the floor using L-brackets or cabinet screws driven into floor joists (if you have access). Freestanding islands over 100 pounds can usually stay put with rubber pads, but anchoring prevents tipping if kids climb or lean on it.
Electrical and Plumbing
Adding outlets or a sink means opening the floor and running new lines. NEC code requires at least one outlet on an island if it’s longer than 24 inches and has a countertop overhang. Outlets must be within 24 inches of the countertop edge and can be surface-mounted, recessed, or installed on the side (not the top). Pop-up outlets are slick but can be finicky.
If you’re adding a sink, you’ll need a drain line and vent. Island sink venting can be tricky, some jurisdictions allow air admittance valves (AAVs), others require a loop vent or traditional vent stack. Check local code or hire a licensed plumber. This is structural work: pull a permit.
Tool and Material Checklist
For a DIY cabinet-based island, you’ll need:
- Base cabinets (stock or custom)
- Countertop material and adhesive
- Shims, level, and square
- Drill/driver and cabinet screws
- L-brackets for anchoring
- Silicone caulk
- Trim or molding (optional, for finished sides)
A circular saw works for cutting trim, but a miter saw gives cleaner angle cuts if you’re wrapping the base with molding.
When to Call a Pro
If you’re relocating plumbing, running new electrical circuits, or working with heavy stone slabs (quartz and granite often weigh 18–25 lbs/sq ft), bring in a licensed contractor. Countertop fabricators typically template, cut, and install stone and quartz: trying to DIY a seam or undermount sink rarely ends well.
Conclusion
Counter height kitchen islands hit the sweet spot for most homes, they’re comfortable to work at, easy to find seating for, and integrate seamlessly into standard kitchen layouts. Nail the clearances, choose materials that fit your budget and skill level, and don’t skip the structural details like leveling and support. Whether you’re building custom cabinetry or rolling in a butcher block cart, getting the height and proportions right makes all the difference.